Extendable Lightbox for MooTools
XtLightbox stands for extendable lightbox. It allows for easy extension of any kind. It is divided into three parts: Adaptors, Renderers and Base.
Adaptors control the contents of the lightbox. There are two Adaptors already included: Image and YouTube. You can easily write more adaptors to embed anything into the lightbox.
Renderers control how the lightbox is rendered and how the elements are positioned. Currently only the default lightbox Renderer is included by default. Creating a custom renderer allows you to completely tweak the look and feel of your lightbox.
Base puts everything together.
How to use
Include everything you need into your document:
<!-- Base -->
<script type="text/javascript" src="/XtLightbox/XtLightbox.js"></script>
<!-- Adaptors -->
<script type="text/javascript" src="/XtLightbox/Adaptor.js"></script>
<script type="text/javascript" src="/XtLightbox/Adaptor/Image.js"></script>
<!-- Renderers -->
<script type="text/javascript" src="/XtLightbox/Renderer.js"></script>
<script type="text/javascript" src="/XtLightbox/Renderer/Lightbox.js"></script>
<!-- Renderer styles -->
<link rel="stylesheet" type="text/css" href="/XtLightbox/Renderer/Lightbox/style.css" />
Create a collection of elements:
<div class="xtlightbox-gallery">
    <a href="/images/image1.jpg" title="Image 1">Image 1</a>
    <a href="/images/image2.jpg" title="Image 2">Image 2</a>
    <a href="/images/image3.jpg" title="Image 3">Image 3</a>
</div>
Initialize the lightbox:
window.addEvent('domready', function() {
    new XtLightbox('.xtlightbox-gallery a');
});
Configuration
XtLightbox has several levels of configuration: Base config, Renderer config and Adaptor config (on a per-adaptor basis). All of the options are passed to the Base class. Each adaptor and renderer can introduce any number of additional options. Here are the options, available so far:
XtLightbox
-
adaptors: an array of adaptor names to be used with this instance. Defaults to['Image'] -
adaptorOptions: additional adaptor configuration. See below. -
renderer: a name of a renderer to use with this instance. Defaults to'Lightbox' -
rendererOptions: additional renderer configuration. See below. -
preload: if true, all the content will be preloaded as soon as the lightbox is initialized. Defaults tofalse -
incrementalPreLoad: if greater than zero, incrementally preloads this many content items before and after the current. Does not depend onpreloadoption. Defaults to3 -
loop: if true, clicking next while on the last element in the collection will move the user to the first element in the collection and vice-versa. Defaults tofalse -
closeKeys: an array of key names, pressing which should trigger the lightbox to close. Defaults to['esc'] -
nextKeys: an array of key names, pressing which should trigger the lightbox to show next image. Defaults to['right', 'space'] -
prevKeys: an array of key names, pressing which should trigger the lightbox to show previous image. Defaults to['left']
Adaptor: Image
-
extensions: an array of file extensions to treat as images. If 'jpg' is present in this array, the 'jpeg' extension is added automatically. Any hrefs that do not end in these extensions are skipped by the lightbox. Defaults to['jpg', 'png', 'gif'] -
lightboxCompat: if true, elements will be checked for having theirrelattribute start with'lighbox'instead of checking for their extensions. Defaults totrue
Adaptor: YouTube
-
width: the width of the video. Defaults to853 -
height: the height of the video. Defaults to505 -
hd: if true, all the movies are loaded in HD quality, if available. Defaults totrue -
fullscreen: if true, a fullscreen button will be available for all videos. Defaults totrue -
related: if true, related videos feature is included. Defaults tofalse -
autoplay: if true, the video will be automatically played upon show. Defaults totrue -
iframe: if true, newer iframe embed code will be used. Defaults tofalse
Adaptor: Vimeo
-
width: the width of the video. Defaults to800 -
height: the height of the video. Defaults to450 -
title: if true, the title of the video will be shown inside the video. Defaults totrue -
byline: if true, the author of the video will be shown inside the video. Defaults totrue -
portrait: if true, the author portrait will be shown inside the video. Defaults totrue -
color: interface color, value must be a hex rgb without the hash symbol. Defaults to'00adef' -
autoplay: if true, the video will be automatically played upon show. Defaults totrue -
autoplay: if true, the video will be automatically played upon show. Defaults totrue -
loop: if true, the video playback will be looped. Defaults tofalse -
iframe: if true, newer iframe embed code will be used. Defaults totrue
Renderer
-
positionText>: Used to specify a custom "Image x of y" string. Defaults to'Image {x} of {total}' -
useMask: if true, the Mask class from MooTools more will be used when showing lightbox. Defaults totrue -
maskOptions: additional Mask options -
hideArrowsFor: an array of adaptor names, the contents for which should not have the next/previous overlays. Defaults to empty array -
hideSinglePosition: if true, positionText will be hidden for single image collections. Defaults totrue
Renderer: Lightbox
-
maskFxOptions: additional options for the Mask's Fx.Tween instance -
widthFxOptions: additional options for the Fx.Tween, that is used to adjust lightbox width -
heightFxOptions: additional options for the Fx.Tween, that is used to adjust lightbox height. Also used to adjust the top value -
contentFxOptions: additional options for the Fx.Tween, that is used to reveal the content of the lightbox -
footerFxOptions: additional options for the Fx.Tween, that is used to reveal the footer (content title and position) of the lightbox -
hideArrowsFor: see Renderer options for details. Default value changed to['YouTube']for this Renderer
Setting Adaptor and Renderer options
Let's assume you want to disable lightbox compatibility of the Image Adaptor and adjust the position text for the Renderer. Here's how you do it:
window.addEvent('domready', function() {
    new XtLightbox('.xtlightbox-gallery a', {
        adaptorOptions: {
            Image: {
                lightboxCompat: false
            }
        },
        rendererOptions: {
            positionText: "Image {x} of {total}. Use arrows to navigate, Esc to close."
        }
    });
});
Control options
XtLightbox allows you to add and remove elements from the collection using the Base class API:
var xtl = new XtLightbox();
xtl.attach('.my-gallery');
xtl.attach($('my-element'));
xtl.attach($$('.my-collection'));
An element will only be attached once and only to a single lightbox instance. To detach any element, use this:
xtl.detach('.my-gallery');Events
XtLightbox provides several events you can listen to. One idea is to load more images using ajax when a user is close to viewing the last one in the collection. Here is the list of all the supported events:
-
attach: fired as soon as an element is attached. Takes attached element as the only argument. Fired several times for an element collection -
detach: fired as soon as an element is detached. Takes detached element as the only argument. Fired several times for an element collection -
show: fired as soon as the show sequence is started. Takes current element as the only argument -
hide: fired as soon as the hide sequence is started. No arguments -
next: fired as soon as the next button is pressed. Takes the next element as the only argument. Note, that theshowevent is fired next -
previous: fired as soon as the previous button is pressed. Takes the previous element as the only argument. Note, that theshowevent is fired next -
clear: fired when the lightbox instance is cleared of all elements. No arguments -
destroy: fired when the lightbox instance is destroyed. Also fires theclearevent
Download
You can download the latest version of XtLightbox from any one of these locations:
Demos
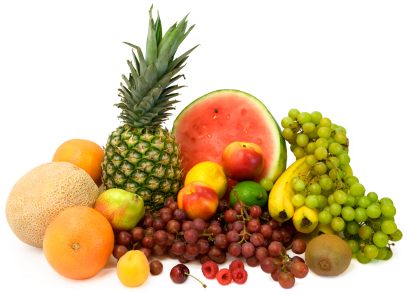
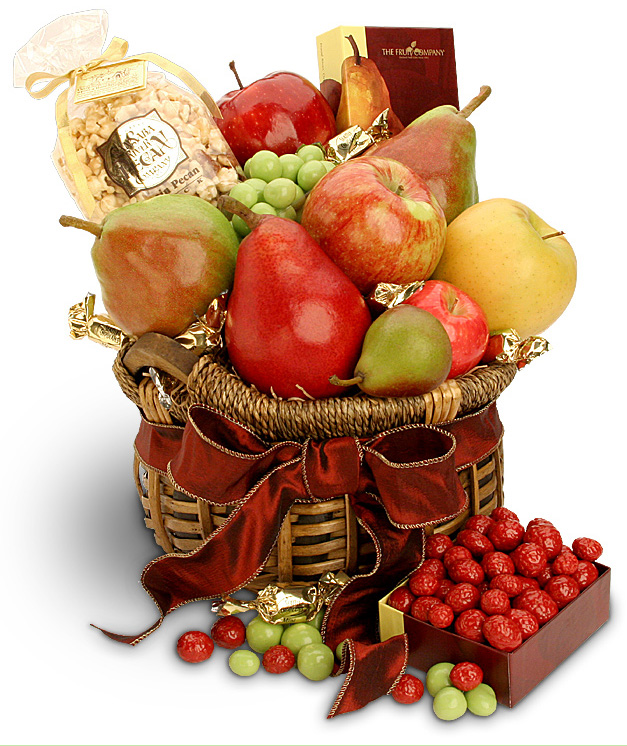
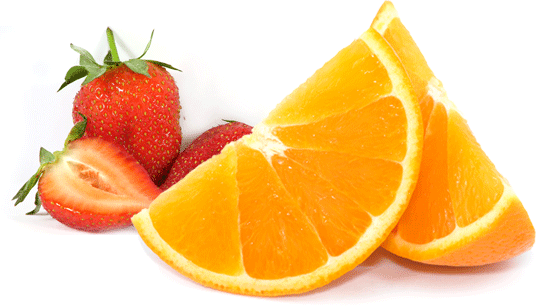
Small image gallery
Let's put together a small fruit basket showcase. First, we need to create the HTML layout:
<div class="gallery photo">
    <a href="./images/fruit-1.jpg" title="Some fruit">
        <img src="./images/small-fruit-1.jpg" alt="" />
    </a>
    <a href="./images/fruit-2.jpg" title="Some more fruit">
        <img src="./images/small-fruit-2.jpg" alt="" />
    </a>
    <a href="./images/fruit-3.gif" title="Even more fruit">
        <img src="./images/small-fruit-3.jpg" alt="" />
    </a>
    <div class="clear"></div>
</div>
Next, we need to initialize our lightbox. Let's add the initialization code to the document head. We want our images to loop. Also, we want to disable lightbox compatibility:
window.addEvent('domready', function() {
    new XtLightbox('.gallery.photo > a', {
        loop: true,
        adaptorOptions: {
            Image: {
                lightboxCompat: false
            }
        }
    });
});
All done. Here's what we get:
Videos gallery
This one is a three part Matthew Perry interview on Jimmy Kimmel:
<div class="gallery video">
    <a href="http://youtube.com/watch?v=KdFNXIFRMJY" title="Matthew Perry on Jimmy Kimmel Live PART 1">
        <img src="./images/jimmy-kimmel-1.jpg" alt="" />
    </a>
    <a href="http://youtube.com/watch?v=Pdsotunlurg" title="Matthew Perry on Jimmy Kimmel Live PART 2">
        <img src="./images/jimmy-kimmel-2.jpg" alt="" />
    </a>
    <a href="http://youtube.com/watch?v=-2vwiwA5YD4" title="Matthew Perry on Jimmy Kimmel Live PART 3">
        <img src="./images/jimmy-kimmel-3.jpg" alt="" />
    </a>
    <div class="clear"></div>
</div>
And some initialization code - load YouTube adaptor, change position text to reflect that this is a video gallery and also to give users a hint on navigating the lightbox without visible arrows:
window.addEvent('domready', function() {
    new XtLightbox('.gallery.video > a', {
        adaptors: ['YouTube'],
        rendererOptions: {
            positionText: 'Video {x} of {total}. Use arrows on your keyboard to navigate'
        }
    });
});
And that's about it.


Vimeo video gallery
This is an example of the newest Vimeo adaptor in action. The video is one of the Staff Picks from Vimeo.
<div class="gallery vimeo">
    <a href="http://vimeo.com/21504557" title="Dogboarding">
        <img src="./images/vimeo-dogboarding.jpg" alt="" />
    </a>
    <div class="clear"></div>
</div>
And initialization - load Vimeo adaptor, change position text - almost identical to YouTube. We could've just as well used these two adaptors together to create a combined video gallery:
window.addEvent('domready', function() {
    new XtLightbox('.gallery.vimeo > a', {
        adaptors: ['Vimeo'],
        rendererOptions: {
            positionText: 'Video {x} of {total}. Use arrows on your keyboard to navigate'
        }
    });
});
And here's what you get: